Ultimaker Cura

By Merit Ashraf Categories: UCS
Wishlist Share
Share Course
Page Link
Share On Social Media

About Course

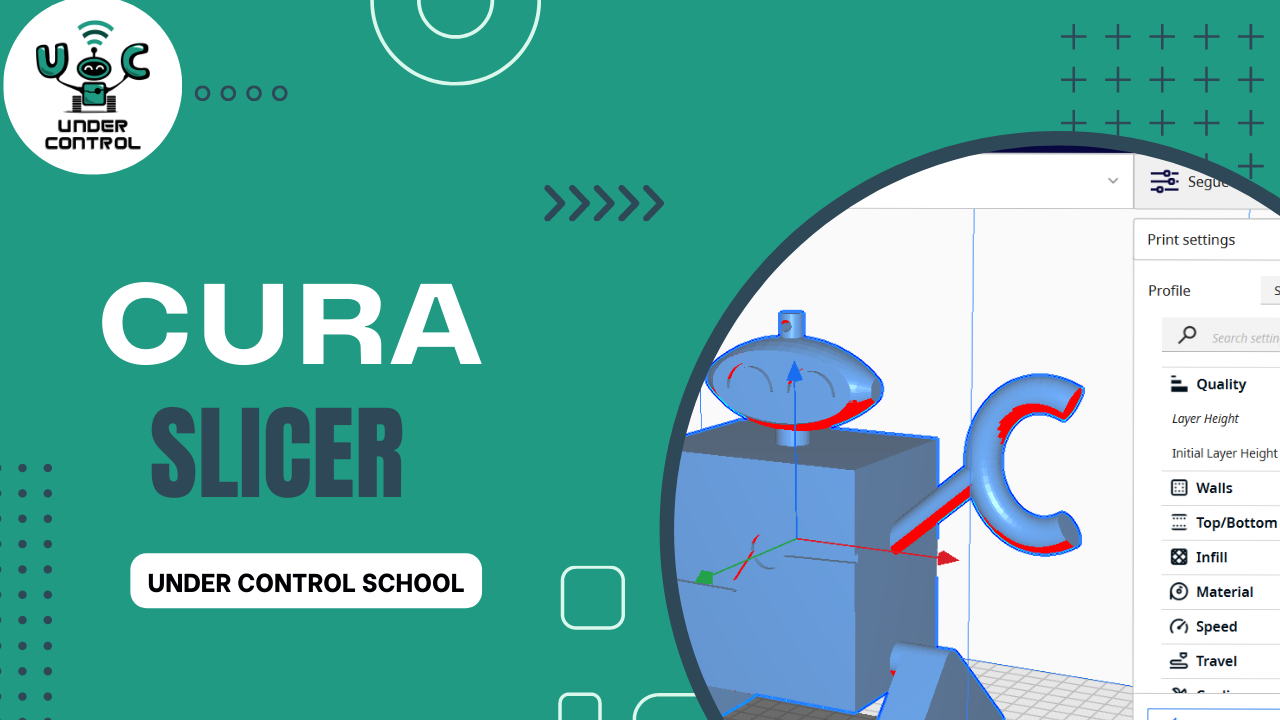
Ultimaker Cura is a powerful and user-friendly slicing software designed for 3D printing enthusiasts and professionals alike. Developed by Ultimaker, a leading manufacturer of 3D printers, Cura is an open-source program that enables users to prepare their 3D models for printing with precision and ease. With support for Windows, macOS, and Linux, it offers broad accessibility to a wide range of users. Ultimaker Cura’s intuitive interface allows seamless importing of 3D models in various formats, such as STL, OBJ, and 3MF. The software provides extensive customization options, allowing users to fine-tune print settings, adjust support structures, and optimize infill patterns for strength and efficiency. It boasts a print preview feature that helps users visualize their creations before printing, minimizing potential errors. Ultimaker Cura is continuously updated, incorporating new features and improvements based on user feedback and industry advancements. Whether you are a novice or an expert, Ultimaker Cura empowers you to unlock the full potential of your 3D printer and bring your creative ideas to life with exceptional quality and precision.

Show More

What Will You Learn?

  • You will learn the skills to produce a model from a 3D printer with excellent quality without any defects

Course Content

Downloading Cura Software
Downloading Ultimaker Cura software is the first step to unlocking a world of 3D printing possibilities. As an open-source slicing software, Ultimaker Cura is freely available for Windows, macOS, and Linux, ensuring accessibility to a wide range of users. To begin the download process, simply visit the official Ultimaker website and navigate to the Cura section. There, you can find the latest version of the software and select the appropriate installer for your operating system. Once the download is complete, installation is typically straightforward and guided by on-screen instructions. Ultimaker Cura's user-friendly interface and regular updates make it a popular choice for 3D printing enthusiasts and professionals alike. By downloading this powerful slicing software, you gain the tools and flexibility to prepare and optimize your 3D models, turning your creative visions into tangible and precision-crafted objects.

  • Dowenloading Cura Software
    05:15

Cura Interface

Quality and wall
In Ultimaker Cura software, the quality and layer settings play a crucial role in determining the outcome of a 3D print. These settings allow users to strike a balance between print quality and printing time, tailoring their prints to meet specific requirements. In the "Quality" section, users can adjust parameters such as layer height, wall thickness, and infill density. A smaller layer height results in finer details and smoother surfaces but increases print time. Conversely, a larger layer height reduces print time but may sacrifice some surface quality. The "Walls" settings control the number of perimeters, affecting the thickness and strength of the print's exterior. By adjusting these settings, users can reinforce the structural integrity of the print or opt for a lighter, faster print. Additionally, the "Infill" settings determine the density of the interior structure, affecting the print's strength and material usage. High infill percentages create robust prints, while lower percentages save material and time, making them ideal for less demanding applications. Fine-tuning quality and layer settings in Ultimaker Cura empowers users to achieve the desired balance between print speed and impeccable print quality, producing 3D prints that meet their unique needs and specifications.

Top bottom and Infill
In Ultimaker Cura software, the "Top/Bottom" and "Infill" settings are essential parameters that directly impact the strength, durability, and overall quality of 3D prints. The "Top/Bottom" setting controls the thickness of the solid layers at the top and bottom surfaces of the print. Increasing the number of solid layers enhances the print's structural integrity, sealing the object and preventing gaps in the top and bottom surfaces. This results in smoother and more robust prints, ideal for objects requiring airtight or watertight properties. On the other hand, reducing the number of solid layers reduces print time and material usage, suitable for objects where surface smoothness is not a critical factor. The "Infill" setting, on the other hand, dictates the density of the interior structure of the print. A higher infill percentage creates a denser and stronger print, well-suited for load-bearing components or objects requiring extra strength. Lower infill percentages save material and shorten print times, suitable for objects with less structural demands. Balancing the "Top/Bottom" and "Infill" settings in Ultimaker Cura allows users to optimize the print's strength, weight, and overall quality, tailoring their 3D prints to meet specific functional and aesthetic requirements with precision and efficiency.

Material
In Ultimaker Cura software, the material settings are a fundamental aspect of the slicing process that allows users to tailor their 3D prints to the characteristics of the chosen printing material. Within the material settings, users can specify various parameters, including printing temperature, print speed, retraction settings, and cooling options, among others. The printing temperature is a crucial setting as it directly affects the material's flow and adhesion during printing. Different materials require different temperature ranges to achieve optimal results, and Ultimaker Cura provides pre-configured temperature profiles for various commonly used materials. Print speed influences the overall printing time and can be adjusted to balance between faster prints and print quality. Retraction settings help to control stringing and oozing issues during travel moves, ensuring cleaner and more precise prints. Cooling settings enable users to manage the cooling fan speed, critical for materials like PLA that require efficient cooling to prevent warping and improve print quality. With the ability to fine-tune material settings in Ultimaker Cura, users can unlock the full potential of their chosen 3D printing materials, achieving exceptional print outcomes that match their specific needs and material properties.

speed travel and support
In Ultimaker Cura software, the speed, travel, and support settings are crucial parameters that significantly influence the overall 3D printing process and the final print quality. The "Speed" settings allow users to control the speed at which the print head moves during different stages of the printing process. Adjusting the print speed can impact the overall print time and affect the print's surface finish. While higher speeds may lead to faster prints, they might compromise print quality and accuracy. The "Travel" settings govern how the print head moves between different parts of the print. By optimizing travel speed and retraction, users can minimize stringing and improve the print's overall appearance. The "Support" settings are vital when printing overhangs and complex geometries. Ultimaker Cura allows users to customize support structures to provide stability during printing, ensuring successful prints for challenging designs. By fine-tuning these speed, travel, and support settings, users can achieve a balance between print time and print quality, ensuring the best possible outcome for their 3D prints while minimizing potential printing issues.

colling and Build plate adhesion
In Ultimaker Cura software, the cooling and build plate adhesion settings are essential features that contribute to the successful 3D printing of models with intricate details and optimal adhesion to the print bed. The "Cooling" settings control the speed and intensity of the cooling fan during the printing process. Efficient cooling is crucial, especially for materials like PLA, as it helps prevent overheating and improve print quality by reducing warping and stringing. Adjusting cooling settings in Ultimaker Cura ensures that each layer of the print cools adequately before the next layer is deposited, resulting in clean and precise prints. On the other hand, the "Build Plate Adhesion" settings are responsible for ensuring that the first layer of the print adheres securely to the print bed. Ultimaker Cura offers different build plate adhesion options, such as brim, skirt, or raft, each serving a specific purpose. Brim and skirt help in improving the initial layer's adhesion, preventing warping, and providing a solid foundation for the rest of the print. Raft, on the other hand, creates an additional, easily removable layer between the print and the build plate, enhancing adhesion for challenging prints. Fine-tuning cooling and build plate adhesion settings in Ultimaker Cura is essential for achieving consistent and successful 3D prints. Proper cooling ensures that the printed layers solidify correctly, while effective build plate adhesion ensures that the print adheres firmly and accurately to the build surface, resulting in high-quality and reliable 3D printed objects.

Student Ratings & Reviews

No Review Yet
No Review Yet